Cedar Torque Tester DIS-IP Series
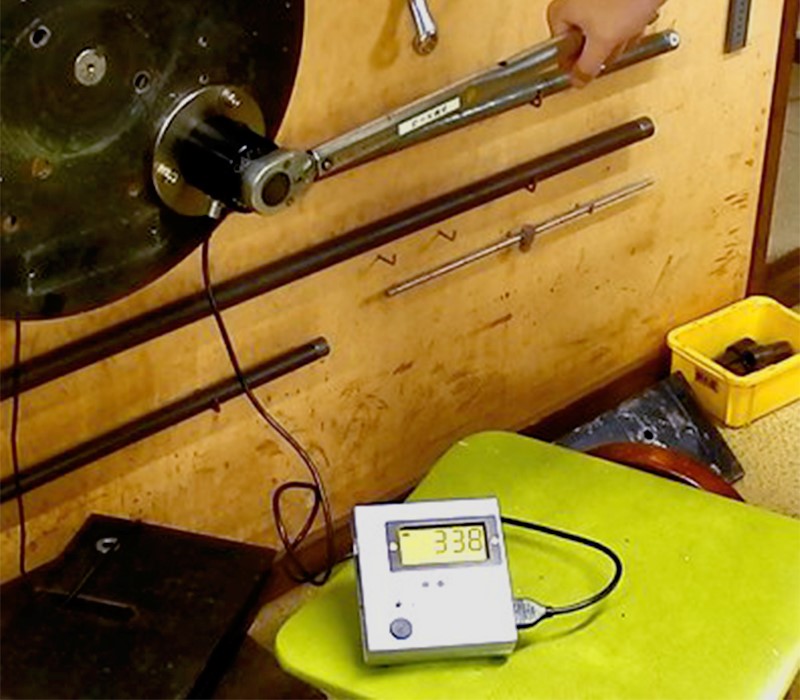
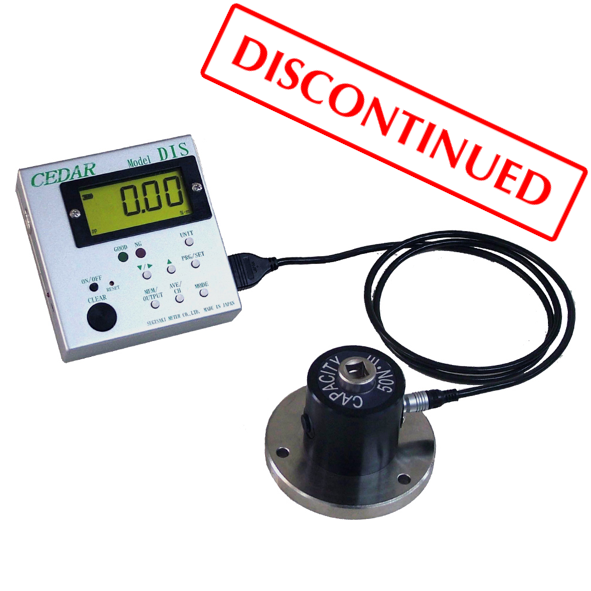
Digital Torque Tester DIS-IP series with remote sensor designed for verification and calibration of manual torque tools up to 500 Nm by MSP Metrology (M) Sdn Bhd from Cedar Japan
Features
DIS-IP series has been discontinued. Please find the replacement model as link below:
Cedar Torque Tester WDISR-IP Series: https://mspmetrology.com/product/cedar-torque-tester-wdisr-ip-series/
Cedar Torque Tester WDISR-IPS Series: https://mspmetrology.com/product/cedar-torque-tester-wdisr-ips-series/
Cedar Torque Tester WDISR-RL Series (Separate Type): https://mspmetrology.com/product/cedar-torque-tester-wdisr-rl-series-separate-type/
DIS-IP series (-IP05/5/50/200/500)
Enable to be installed in a small space due to a separate type.
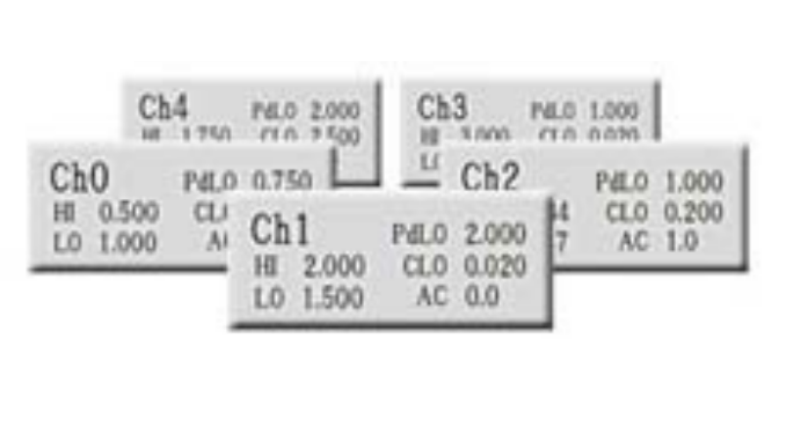
Enable to save 5 channels of pass/fail judgement criterion, and enable to change settings easily by switch channels even if the tightening term changes.
- Show “Measurement mode” “Measurement unit” Indication of “maximum, minimum, average”
- Switchable measurement unit
- Enable to save 5 sets of settings such as upper limit and lower limit
- 800 items of memory data
- Real-time output About every 1/180 seconds
- Data acquisition software can be downloaded for free
- The lineup of the DIS-IP series is DIS-IP05, DIS-IP5, DIS-IP50, DIS-IP200, DIS-IP500


Yes-No Decision Conditions etc. Can Save Five Channels
- A channel is only changed even if bolting conditions change.
- It is not necessary to reset up a maximum value and a minimum value one by one like former.
Full Specifications
| Specification | DIS-IP05 | DIS-IP5 | DIS-IP50 | DIS-IP200 | DIS-IP500 | |
| Measuring Range (At time of Track) |
2.0 ~ 500 mN・m 0.20 ~ 50 kgf・cm 0.20 ~ 45 lbf・in |
0.020 ~ 5 N・m 0.20 ~ 50 kgf・cm 0.20 ~ 45 lbf・in |
0.20 ~ 50 N・m 2.0 ~ 500 kgf・cm 2.0 ~ 450 lbf・in |
2.0 ~ 200 N・m 20 ~ 2000 kgf・cm 20 ~ 1740 lbf・in |
2.0 ~ 500 N・m 20 ~ 5000 kgf・cm 20 ~ 4500 lbf・in |
|
| Accuracy | ±0.5% (499 or less digit ±3 digit) | |||||
| Display | The 4 figures digital display of LCD | |||||
| The measurement direction | CW-CCW (right and left) | |||||
| Measuring mode |
P-P Peak | Peak load value hold | ||||
| T-R Track | Indication of real time torque value. | |||||
| P-D Peak down | Holding Load Value at the moment to change from upward to downward | |||||
| C Real-time output | Load torque value is outputted every about 1/180 second | |||||
| Decision function |
Setting of torque value | A maximum and a minimum value are in a measuring range, and a setup is possible. Can confirm the set value by the buzzer sound or LED | ||||
| The Maximum, the minimum, and the average value | The maximum, the minimum value, and average value of the saved data | |||||
| Automatic Clearance | Automatically clear the displayed value after certain time (0.5 – 3.0 sec, selectable at each 0.5 sec). Setting 0.0 sec for manual Zero clearance | |||||
| One-touch zero | Easy Zero-Adjustment with pressing CLEAR button | |||||
| Data spec | Data transfer | ASCII format (Baud rate: 19200) | ||||
| Data memory | 800 data | |||||
| Power supply | Ni-Cd chargeable battery 1.2V x 5 cells 700mAh | |||||
| Auto power save | 10 minutes no use, automatically switch off. | |||||
| Charging time | About 3 hours | |||||
| Continuous working time | 12 hours | |||||
| Meter outside type dimension | 100(W) x 105(D) x 40(H) (It does not contain by the projection thing) | |||||
| Weight | Meter part 520g | |||||
| Code length | Standard 1m (there are automatic machines no less than 4m as an option.) | |||||
| Accessories (one piece each) |
AC/DC adaptor | |||||
| An inspection report, a proofreading certificate, a traceability system figure | ||||||


